Nest Devtools
The NestJS core team have built a powerful set of dev tools which can be used to inspect, analyze and debug NestJS applications. Since a Vendure server is a NestJS application, these tools can be used to debug your Vendure application.
Nest Devtools is a paid service. You can sign up for a free trial.
Installation
First you'll need to install the @nestjs/devtools-integration package:
npm i @nestjs/devtools-integration
Configuration
Next you need to create a plugin which imports the DevToolsModule and adds it to the imports array:
import { VendurePlugin } from '@vendure/core';
import { DevtoolsModule } from '@nestjs/devtools-integration';

@VendurePlugin({
    imports: [
        DevtoolsModule.register({
            // The reason we are checking the NODE_ENV environment
            // variable here is that you should never use this module in production!
            http: process.env.NODE_ENV !== 'production',
        }),
    ],
})
class DevtoolsPlugin {}
Now we need to add this plugin to the plugins array in the VendureConfig. We need to make sure we are
only adding it to the server config, and not the worker, otherwise we will get a port config when
running the server and worker at the same time.
Lastly we must set the snapshot option when bootstrapping the server. Note: this is only possible
with Vendure v2.2 or later.
import { bootstrap } from '@vendure/core';
import { config } from './vendure-config';

const configWithDevtools = {
    ...config,
    plugins: [
        ...config.plugins,
        DevtoolsPlugin,
    ],
};

bootstrap(configWithDevtools, {
    nestApplicationOptions: { snapshot: true }
})
    .catch(err => {
        console.log(err);
        process.exit(1);
    });
Usage
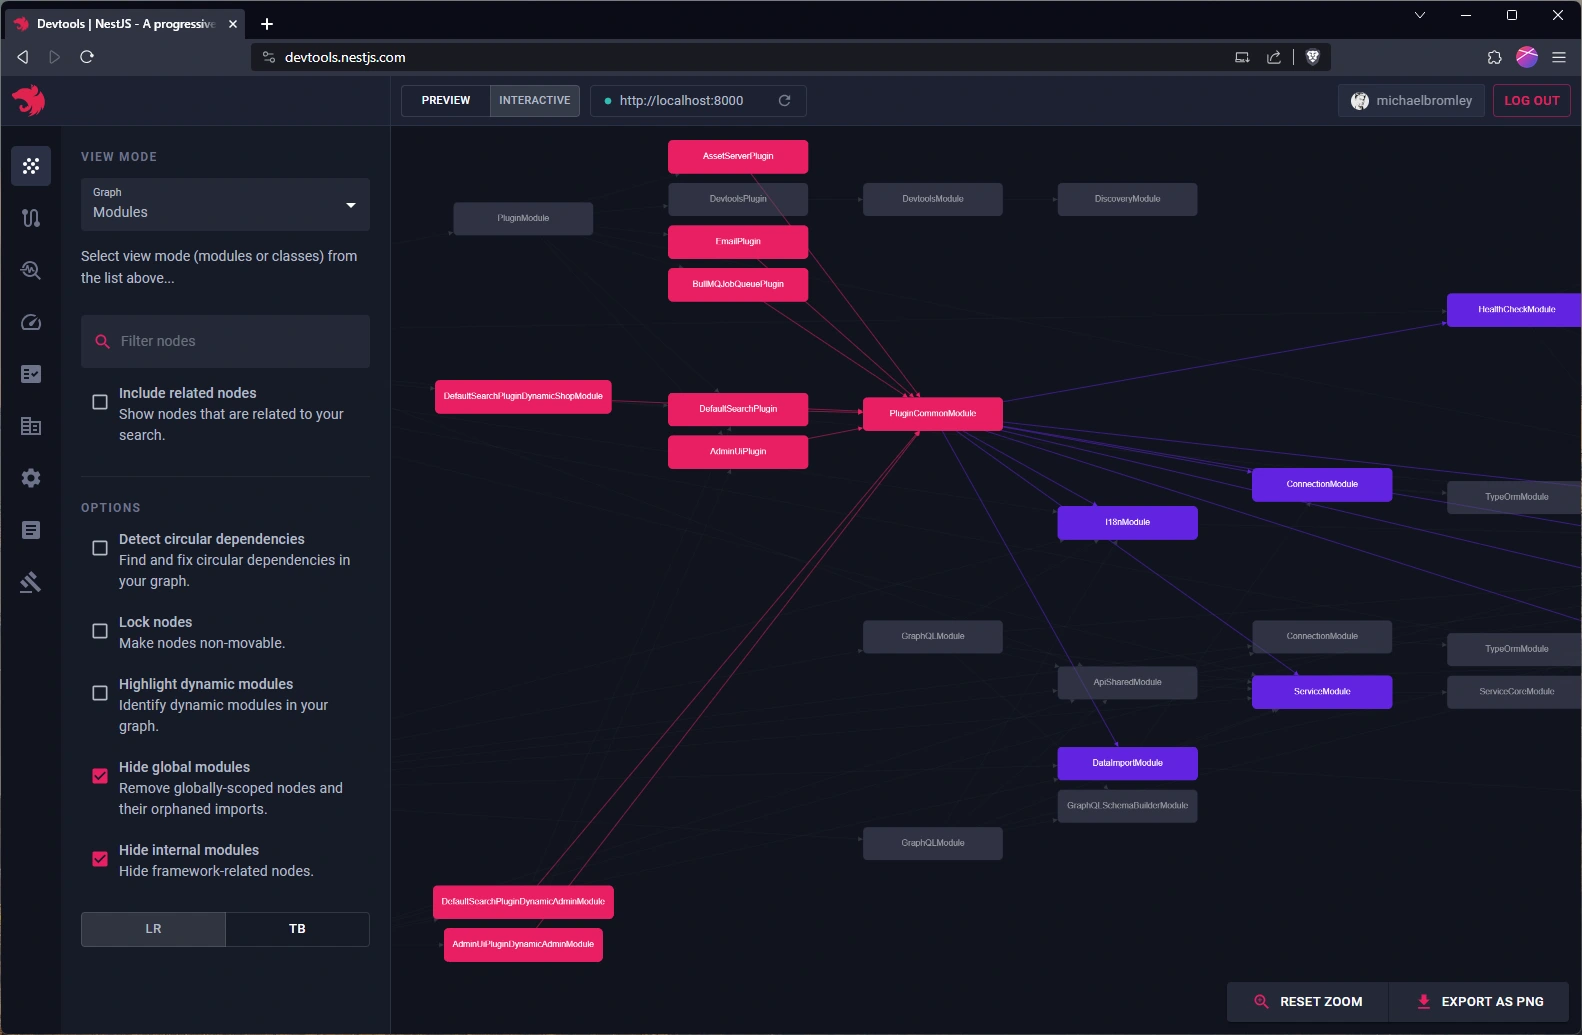
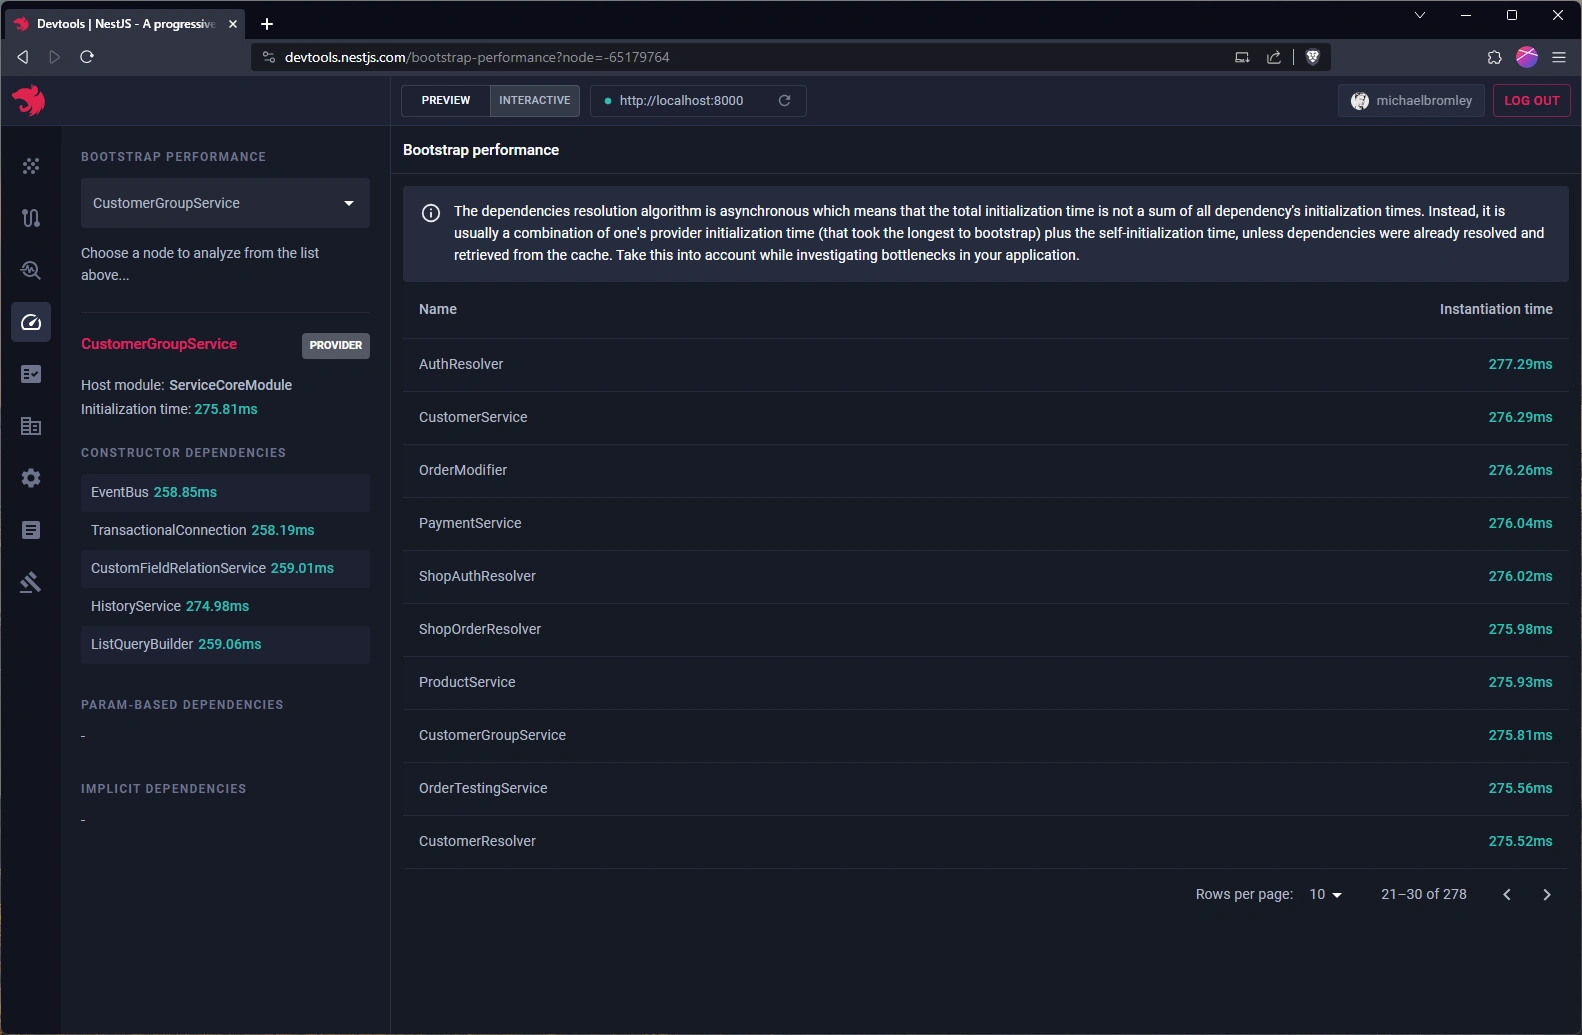
Now you can start the server, and navigate to devtools.nestjs.com to start view your Vendure server in the Nest Devtools dashboard.